
How should a buyer investigate a “wet waterproof sock” complaint?
Begin with evidence, not a conclusion. Record where moisture first appeared, how long the product was worn, the activity level, the water depth, the footwear, the weather and the sock’s wash history. Then dry and condition the sample before carrying out a controlled test with the water level safely below the open cuff. This sequence helps distinguish water crossing the sock body from moisture generated inside or entering through the top.
- Open cuff
- The top of a standard waterproof sock is an opening, not a watertight seal.
- Perspiration
- A breathable construction can manage vapor but cannot prevent the foot from sweating.
- Outer wetting
- A wet outer knit does not by itself show that water crossed the membrane.
- Construction damage
- Puncture, delamination, abrasion or repeated flexing can create a localized failure.
- Test boundary
- Keep test water below the cuff and prevent splash or wicking over the opening.
- Useful evidence
- Moisture location, time, activity, footwear, water depth and care history guide diagnosis.
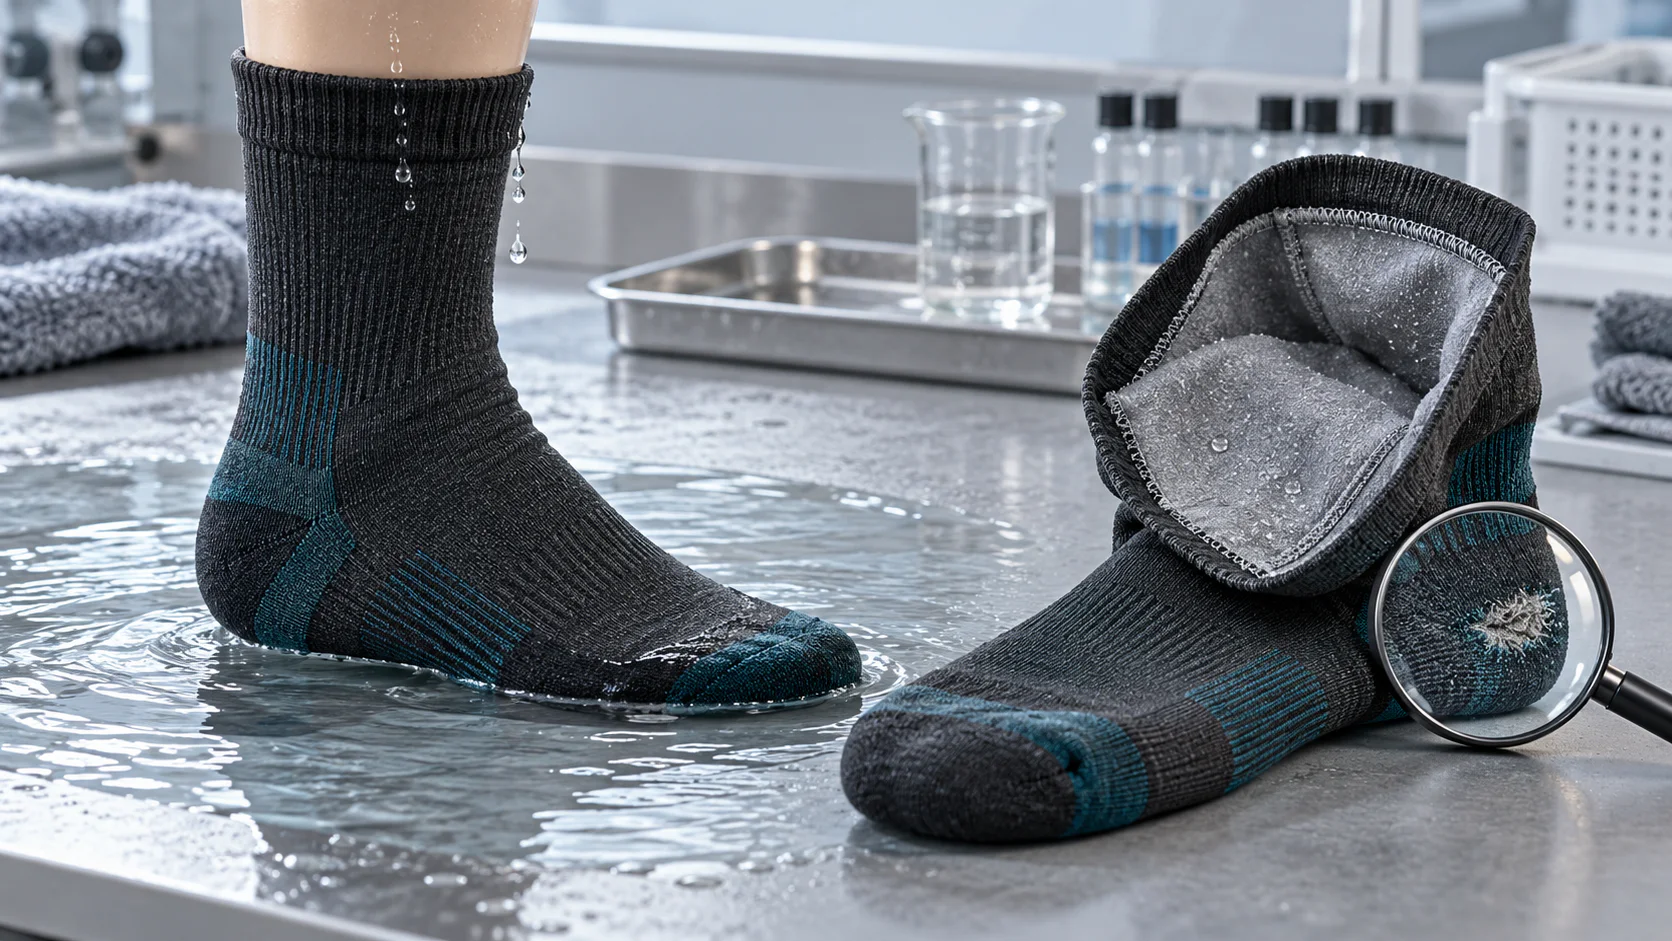
1. Map the moisture before deciding what failed
Ask the wearer to identify the first damp area rather than reporting only that the whole foot felt wet. Moisture beginning at the cuff and moving downward suggests a different mechanism from one sharply defined wet spot at the toe. General humidity across the sole, toes and instep after high-output activity may point toward perspiration, whereas repeatable localized moisture under low-activity test conditions deserves a closer construction inspection.
Photograph the outside and inside, mark the suspected area and note whether both socks behaved the same way. A left-right comparison can be useful when the pair has the same age and care history. Also record when the sensation began. Immediate wetness during shallow exposure is not the same investigation as dampness after a two-hour hike in non-ventilated boots.
2. Water entering over the cuff is not membrane leakage
Three-layer waterproof socks protect the covered sock body, but a normal knitted cuff remains open so the wearer can put the sock on. Rain running down a leg, a wave, a stream crossing above cuff height or water splashed into the opening can wet the lining directly. Once inside, that water may spread downward and make the failure appear to originate near the foot.
Cuff height must therefore match the use scenario. Trousers, gaiters and boots can help manage runoff, but they do not convert a standard cuff into a watertight seal. Marketing copy, instructions and customer service scripts should explain this limit. When reproducing a complaint, keep the water line clearly below the cuff throughout the test and prevent splashing or capillary wicking over the top edge.
3. Breathable does not mean the wearer will not sweat
The foot continues to generate heat and perspiration inside a waterproof sock. A waterproof breathable membrane may allow a degree of moisture-vapor transfer, but vapor movement depends on the complete construction and the conditions on both sides. Activity, humidity, temperature, lining absorption, outer saturation and footwear ventilation all influence how quickly moisture can leave.
A membrane cannot guarantee a dry-feeling foot during every activity. Tight rubber boots, heavy insulation and high exertion can create a warm, humid microclimate. As perspiration accumulates or meets cooler layers, the lining may feel damp even when external liquid water never crossed the membrane. Buyers should avoid “no sweat” or “always dry inside” claims and evaluate breathability on the finished sock in the intended footwear and activity.
4. Condensation can resemble a slow leak
Warm humid air from the foot can cool within the sock-and-shoe system. If the local temperature reaches a point where vapor condenses, liquid moisture can appear on or near the inner lining. This is more likely when outside conditions are cold, the footwear has little ventilation or the outer layers remain saturated for a long period.
Condensation often produces diffuse dampness instead of a single sharp entry point, but the pattern alone is not conclusive. Repeat the wear trial at a controlled activity level, weigh or otherwise compare dry and post-wear samples if the test protocol allows, and document temperature, duration and footwear. A dry controlled water test followed by dampness only during active wear supports an internal moisture explanation rather than a simple water-barrier failure.
5. A soaked outer layer does not automatically mean the sock leaks
The knitted outer protects the functional layer, provides appearance and takes much of the abrasion from shoes and the environment. It may absorb or hold water between yarns, especially after prolonged exposure or when any surface water-repellent effect has reduced. The outside can therefore look dark, feel heavy and remain wet while the membrane is still preventing liquid water from reaching the lining.
This condition can still affect comfort. A saturated face fabric may feel colder, dry more slowly and reduce the moisture-vapor gradient that supports transfer from inside to outside. Describe outer wetting accurately rather than treating it as proof of leakage. Confirm the inner result with a controlled test and evaluate drying, weight gain and surface treatment as separate performance characteristics.
6. True failures may come from membrane or lamination damage
A real barrier failure can result from a puncture, local abrasion, excessive heat, unsuitable chemicals, layer separation or a manufacturing defect. Delamination can allow the layers to move independently, create blisters or concentrate stress in high-flex areas. Damage may be too small to see through the outer knit, so visual inspection should be combined with a controlled finished-product test.
Inspect the suspected zone under good light without cutting the complaint sample before testing. Look for distortion, thinning, snagging, hard creases, bubbles, separated layers, decoration damage and unusual adhesive areas. If destructive analysis is required, retain an untouched control sample and record exactly where the construction was opened. Material data for a membrane roll cannot replace evaluation of the finished sock.
7. Footwear friction and pressure can create localized wear
The inside of a shoe or boot may contain rough seams, worn lining, debris, stiff heel counters or pressure points. Repeated rubbing at the heel, toe, ankle or instep can damage the outer layer and eventually stress the laminated construction. A sock that performs in one boot may age differently in a tighter or more abrasive model.
Check footwear together with the returned sock. Compare the wet or damaged area with contact marks inside the shoe, then review size and thickness. A sock that is too large can fold and rub; one that is too thick for the shoe can experience excess compression. Soil or grit trapped between footwear and fabric accelerates abrasion. B2B wear trials should include the actual footwear categories used by the target market.
8. Use a controlled test that respects the open cuff
Start with a fully dry, conditioned sock and an agreed test method. Mark a maximum water line below the cuff, insert the specified dry absorbent indicator or test form, and prevent water from splashing into the opening. Control immersion depth, duration, movement and water temperature. The cuff and any untested upper zone must remain dry.
At the end, remove surface water before handling the opening so droplets are not transferred inside. Inspect and record the indicator, location and timing of any moisture. Test an approved reference sample under the same conditions where possible. Never immerse a standard open-cuff sock above its top and call the result a membrane test; that setup cannot distinguish top entry from water passing through the sock body.
9. Follow a repeatable troubleshooting checklist
- Quarantine and identifyRecord style, size, color, batch, sample status and which foot was affected.
- Document the useCapture activity, duration, weather, water depth, footwear and the moment dampness began.
- Map the moistureMark the first wet area, later spread and whether the pattern is localized or diffuse.
- Review the cuffCheck whether runoff, splashes or immersion reached the open top of the sock.
- Inspect the exteriorLook for abrasion, snags, creases, delamination signs and footwear contact points.
- Review care historyRecord wash temperature, detergent, bleach, softener, drying heat and number of cycles.
- Dry and conditionUse the agreed pre-test condition so retained moisture does not distort the result.
- Test below the cuffControl depth, time, movement and splash while keeping the opening dry.
- Compare a referenceRun the same protocol on an approved or unused sample when available.
- Classify the causeSeparate top entry, internal moisture, outer wetting, care damage and barrier failure.
10. Care history matters when investigating performance
High drying temperatures, bleach, fabric softener, harsh chemicals or instructions unsuitable for the actual laminate can change a waterproof sock over time. Twisting, aggressive wringing or repeated storage while damp may also affect layers, shape, odor and user perception. The investigation should compare the complaint history with the approved care label and the care validation completed during development.
Do not reject a claim solely because the sock was used or washed, and do not assume every washed sample failed because of care. Record the facts and compare them with controlled durability samples. If normal customer behavior repeatedly produces damage, the construction, instructions or claim language may need improvement even when the immediate mechanism is technically “misuse.”
11. Build diagnosis into OEM approval and bulk quality control
Before bulk production, buyer and factory should agree on the finished-product test, water level, duration, movement, conditioning and acceptance criteria. Keep a signed reference sample and record membrane, lamination, yarn, size and decoration details. Test after selected wash and flex cycles rather than approving only a new sample.
For bulk inspections, use a sampling plan appropriate to the order and risk. A failed unit should trigger containment, confirmation and root-cause work—not an unsupported assumption that every unit has the same defect. Traceability by material lot and production batch makes corrective action more precise. The pre-bulk waterproof sock testing guide and bulk inspection guide provide additional planning steps.
12. Ask customers and test teams for evidence that can be compared
A useful report includes the product code, size, batch, purchase or production date, number of wears, care history, footwear, activity, weather, water depth, duration, first moisture location and clear photographs. A short video can help show the exposure route, but it should not replace a controlled test record.
Use neutral language while the cause is unknown. “Wet sensation reported” is more accurate than “membrane leak confirmed” before investigation. After testing, state the evidence, protocol, result and limitations. This supports fair customer service, supplier communication and product improvement while preventing the same symptom from being assigned automatically to the same cause.
Waterproof Socks Wet-Feeling FAQ
Why can waterproof socks feel wet even when they do not leak?
Perspiration and condensation can dampen the lining, especially during high activity,
cold weather or use inside poorly ventilated footwear. A breathable membrane can
support vapor transfer, but it cannot stop the foot from producing sweat.
Does a wet outer fabric mean the waterproof membrane failed?
No. The outer knit can absorb or hold water while the membrane still blocks liquid
water from reaching the lining. Outer wetting should be assessed separately from
leakage through the finished sock body.
Can water enter a waterproof sock through the cuff?
Yes. A standard cuff is an open entry, not a watertight seal. Rain runoff, splashes
or immersion above the cuff can wet the inside without any membrane failure.
How should waterproof socks be tested for leakage?
Test a dry, conditioned finished sock with an agreed method, controlled duration and
water level safely below the cuff. Keep the opening dry, avoid splash, document the
moisture location and compare with an approved reference sample when possible.
What does localized wetness at the heel or toe suggest?
A repeatable localized wet area can justify inspection for abrasion, puncture,
delamination or a construction defect. Check the footwear contact point and confirm
the finding with a controlled test before assigning the cause.
Can shoe or boot fit contribute to waterproof sock damage?
Yes. Rough internal seams, debris, tight pressure points, folding and repeated rubbing
can abrade the outer layer and stress the laminate. Wear trials should use the target
footwear type and correct sock size.
What information should a buyer collect for a wetness complaint?
Record style, size, batch, wear time, activity, weather, water depth, footwear, care
history, first moisture location, photographs and whether both socks were affected.
This evidence makes supplier diagnosis and corrective action more reliable.